How to Create and Deploy a Flask App on VPS — Production-Ready Guide (Free & Paid Options)
Keywords: Deploy Flask on VPS | Flask production setup | Flask with Nginx and Gunicorn | Ubuntu VPS Flask deploymentLearn How to Create and Deploy a Flask App on VPS: Step-by-Step Guide for Beginners to Intermediate:
So you've built a Flask app locally and it works perfectly on localhost:5000. Now what?

Running Flask with python app.py is fine for development — but it is not safe, not scalable, and not suitable for real users. To go from your laptop to a live, accessible web application, you need a proper production stack. This guide walks you through exactly that — from zero to a fully deployed, HTTPS-secured Flask app on a real server.
What You Will Build
By the end of this tutorial, every request to your domain or server IP will flow through this production-grade architecture:
  Browser Request
      ↓
  Nginx (Port 80/443)       ← handles SSL, static files, load balancing
      ↓
  Unix Socket
      ↓
  Gunicorn (WSGI server)    ← runs your Python app with multiple workers
      ↓
  Flask Application         ← your app.py logic
      ↑
  systemd                   ← keeps Gunicorn alive, auto-restarts on crash
This is the same stack used in real-world Python web deployments — REST APIs, dashboards, microservices, and full web apps.
Why Not Just Use Shared Hosting or Heroku?
Great question. Here's why a VPS gives you more control and flexibility:
- Shared hosting does not support Python WSGI apps, root SSH, or custom Nginx configuration.
- Heroku free tier was discontinued; paid plans start at $7/month with container limits.
- A VPS gives you root access, full Nginx control, persistent file storage, and the ability to run any service — at the same or lower cost.
If you're serious about Python web development, understanding VPS deployment is a must-have skill for your resume and real projects.
Table of Contents
Prerequisites
Before starting, make sure you have:
- Basic Python knowledge — you've written a Flask app before.
- A terminal / command line (Linux, macOS, or WSL on Windows).
- An Ubuntu 20.04 or 22.04 server — free (AWS EC2 t2.micro) or paid VPS.
- SSH access to your server.
- A domain name (optional — the tutorial works with just a server IP)
💡 New to Linux? Review the Linux File Navigation Tutorial and Linux Server Setup Guide on DevspireHub before starting this guide.
Introduction
Flask is a lightweight Python web framework built for speed and flexibility. Unlike Django, Flask gives you only what you need — a router, a request context, and a templating engine — then gets out of the way. This makes it the go-to framework for REST APIs, microservices, dashboards, and small-to-medium web apps.
VPS vs Shared Hosting vs Cloud Platforms
| Factor | Shared Hosting | VPS (Paid) | AWS EC2 Free Tier |
|---|---|---|---|
| Python WSGI support | ❌ Limited | ✅ Full | ✅ Full |
| Root SSH access | ❌ No | ✅ Yes | ✅ Yes |
| Nginx + Gunicorn config | ❌ No | ✅ Yes | ✅ Yes |
| Monthly cost | ₹300–600 | ₹400–1,500 | ₹0 (12 months) |
| SSL (HTTPS) | Paid add-on | Free via Certbot | Free via Certbot |
| Best for | Static/PHP sites | Production Flask apps | Learning + MVP |
Cost Overview — Free vs Paid
| Component | Free Option | Paid Option |
|---|---|---|
| Server (VPS) | AWS EC2 Free Tier (12 months) | Hostinger KVM1 |
| Domain name | Use server IP directly | ~₹600–900/year from HostingRaja / Namecheap |
| SSL Certificate | Let's Encrypt via Certbot — always free | — |
| Flask, Nginx, Gunicorn | Always free (open source) | — |
| Ubuntu OS | Always free | — |
✅ Recommended starting path: Use AWS Free Tier (free server) + your existing devspirehub.com domain or just the server IP. Every tutorial step works identically on AWS EC2 and a paid VPS.
1. Server Setup — Free vs Paid (Choose One)
Option A: Free — AWS EC2 Free Tier
AWS Free Tier includes:
  ✅ EC2 t2.micro (1 vCPU, 1 GB RAM)
  ✅ 750 hours/month — enough for 1 always-on server
  ✅ 30 GB EBS SSD storage
  ✅ Free for 12 months after account creation
  ✅ Ubuntu 22.04 AMI available
Setup steps:
- Go to aws.amazon.com ⟶ Create free account
- Console → EC2 → Launch Instance
- Name:
flaskapp-server - AMI: Ubuntu Server 22.04 LTS (Free Tier eligible)
- Instance type: t2.micro (Free Tier eligible)
- Key pair: Create new → download
.pemfile → save safely - Security Group — allow these ports:
- SSH (22) — Your IP
- HTTP (80) — Anywhere
- HTTPS (443) — Anywhere
- Storage: 20–30 GB gp2 (Free Tier covers 30 GB)
- Click Launch Instance
Get your public IP from EC2 dashboard. SSH command:
# AWS EC2 uses ubuntu as the default user (not root)
ssh -i ~/.ssh/your-key.pem ubuntu@YOUR_EC2_PUBLIC_IP

# Fix key permissions if SSH complains
chmod 400 ~/.ssh/your-key.pem
⚠️ AWS Free Tier Note: Free for 12 months. After that, t2.micro costs ~₹650/month. Set a billing alert at $1 in AWS Console → Billing → Budgets to avoid surprise charges.
Option B: Paid — VPS Provider
| Provider | Plan | RAM | Price | Best For |
|---|---|---|---|---|
| Hostinger | KVM 1 | 4 GB | ~₹450/month | Best value, beginner friendly |
| Hetzner | CX11 | 2 GB | ~₹380/month | Cheapest powerful option |
| DigitalOcean | Basic | 1 GB | ~₹850/month | Great docs + community |
| Linode | Nanode | 1 GB | ~₹850/month | Stable and reliable |
Setup steps (same for all):
- Sign up → Create a new server/droplet/VPS.
- Select Ubuntu 22.04 LTS.
- Choose your plan.
- Add your SSH public key during setup (or use password initially).
- Get server IP from dashboard.
# Connect as root (Hostinger/ DigitalOcean / Hetzner)
ssh root@YOUR_SERVER_IP

# Or with SSH key
ssh -i ~/.ssh/your-key root@YOUR_SERVER_IP
2. Create a Basic Flask App Locally
Build and test locally before touching the server.
2.1 Install Python and create a virtual environment
# Check Python version (need 3.8+)
python3 --version

# Install virtualenv
pip3 install virtualenv

# Create project directory
mkdir ~/flaskapp && cd ~/flaskapp

# Create and activate virtual environment
python3 -m venv venv
source venv/bin/activate # Linux / macOS
# venv\Scripts\activate # Windows
The purpose of those commands is to create an isolated Python environment for that specific Flask project, so its packages don’t interfere with system Python or other projects.
pip3 install virtualenvmkdir ~/flaskapp && cd ~/flaskapppython3 -m venv venvsource venv/bin/activate(Linux/macOS) /venv\Scripts\activate(Windows)pythonandpipnow point to the project’s interpreter.- Any
pip install flaskaffects only this project, not the whole system.
Installs the tool that lets you create isolated Python environments (not strictly needed if
you use python3 -m venv, but
often shown in older guides).
Creates a dedicated project folder and moves into it.
Creates a virtual environment named venv inside the project
directory. This is a self‑contained Python + site‑packages
folder just for this project.
In short: you use these commands so each project has its own clean, reproducible dependency set, avoiding version conflicts and “it broke my global Python” issues.
2.2 Install Flask and Gunicorn
pip install flask gunicorn python-dotenv
pip freeze > requirements.txt
requirements.txt records all dependencies so the server installs exact
same versions.
Those three packages each solve a different part of running a real Flask app:
flaskgunicorn- You use
flask runonly for local development. - In production (on a VPS), you run something like
gunicorn app:appbehind Nginx or a reverse proxy so your app can handle real traffic efficiently and safely. python-dotenv- Lets you keep secrets and config (e.g.,
SECRET_KEY, DB URLs) in.envinstead of hard‑coding them. - On startup, it reads
.envand sets those values inos.environso Flask can use them.
Installs the web framework itself.
You use it to define routes, handle requests, render templates, etc. Without this, there is no Flask app.
Installs a production WSGI server.
Installs support for loading environment variables from a .env
file.
Together:
flask = framework,
gunicorn = production server,
python-dotenv = configuration/secrets management via environment
variables.
2.3 Create app.py — full working example
# app.py
from flask import Flask, jsonify, request
import os
from datetime import datetime

app = Flask(__name__)

# Load secret key from environment — never hardcode this
app.config['SECRET_KEY'] = os.environ.get('SECRET_KEY', 'dev-fallback-key')

@app.route('/')
def index():
    return jsonify({
        "status":  "ok",
        "message": "Flask app is live!",
        "time":    datetime.utcnow().isoformat()
    })

@app.route('/health')
def health():
    return jsonify({"status": "healthy"}), 200

@app.route('/api/greet', methods=['POST'])
def greet():
    data = request.get_json()
    name = data.get('name', 'World') if data else 'World'
    return jsonify({"greeting": f"Hello, {name}!"})

# Only used during local development
# Gunicorn replaces this entirely in production
if __name__ == '__main__':
    debug_mode = os.environ.get('FLASK_DEBUG', 'False').lower() == 'true'
    app.run(host='0.0.0.0', port=5000, debug=debug_mode)
Explanation:
Imports
from flask import Flask, jsonify, request
import os
from datetime import datetime
Flask— the core app class.jsonify— converts Python dicts into proper JSON HTTP responses.request— lets you read incoming request data (JSON body, headers, etc.).os— used to read environment variables securely.datetime— used to show the current server time.
App Initialization
app = Flask(__name__)
Creates the Flask application instance. __name__ tells Flask where to
look for templates and static files.
Secret Key Configuration
app.config['SECRET_KEY'] = os.environ.get('SECRET_KEY', 'dev-fallback-key')
- Reads
SECRET_KEYfrom the environment (set in.envviapython-dotenv). - If not found, falls back to code.
'dev-fallback-key'only for local dev. - Used internally by Flask for session signing and security features.
- Never hardcode a real secret key — if pushed to GitHub, it becomes a security vulnerability.
Route 1 — Homepage (/)
@app.route('/')
def index():
    return jsonify({
        "status":  "ok",
        "message": "Flask app is live!",
        "time":    datetime.utcnow().isoformat()
    })
- Responds to
GET /with a JSON object. - Returns app status + current UTC timestamp.
- Useful as a quick sanity check that the app is running.
Route 2 — Health Check (/health)
@app.route('/health')
def health():
    return jsonify({"status": "healthy"}), 200
- A dedicated endpoint that always returns
200 OKwhen the app is alive. - Used by monitoring tools (UptimeRobot, Docker healthcheck, Nginx, Kubernetes) to verify the app is up.
- The
, 200explicitly sets the HTTP status code
Route 3 — API Endpoint (/api/greet)
@app.route('/api/greet', methods=['POST'])
def greet():
    data = request.get_json()
    name = data.get('name', 'World') if data else 'World'
    return jsonify({"greeting": f"Hello, {name}!"})
- Only accepts
POSTrequests. - Reads the JSON body from the incoming request.
- Extracts the
namefield — defaults to"World"if: - No JSON body was sent, or
- The name key is missing
- Returns a personalized greeting.
Example request:
POST /api/greet
{ "name": "Arjun" }
Response:
{ "greeting": "Hello, Arjun!" }
Production vs Development Entry Point
if __name__ == '__main__':
    debug_mode = os.environ.get('FLASK_DEBUG', 'False').lower() == 'true'
    app.run(host='0.0.0.0', port=5000, debug=debug_mode)
if __name__ == '__main__'— this block only runs when you executepython app.pydirectly.- It is completely ignored when Gunicorn runs the app in production (
gunicorn app:app). host='0.0.0.0'— makes the app accessible from any network interface (not just localhost).debug_mode— readsFLASK_DEBUGfrom.env; debug mode is neverTruein production because it exposes sensitive error details.
Summary — What Each Part Does
| Section | Purpose |
|---|---|
| Imports | Load Flask tools + standard libraries |
app = Flask(...) |
Create the application instance |
SECRET_KEY |
Secure config loaded from environment |
GET / |
Status check with timestamp |
GET /health |
Monitoring/uptime probe endpoint |
POST /api/greet |
Demonstrates JSON request handling |
if __name__... |
Local dev runner only — Gunicorn ignores this in production |
2.4 Create the WSGI entry point
# wsgi.py
from app import app

if __name__ == '__main__':
    app.run()
2.5 Create .env for local secrets
# .env (NEVER commit this to Git — add to .gitignore)
SECRET_KEY=your-very-long-random-secret-key-here
FLASK_DEBUG=true
2.6 Create .gitignore
# .gitignore
venv/
.env
__pycache__/
*.pyc
*.pyo
instance/
.DS_Store
2.7 Run locally to verify
# Flask dev server
python app.py

# OR test Gunicorn locally
gunicorn --bind 0.0.0.0:5000 wsgi:app

# Test in another terminal
curl http://localhost:5000/
curl http://localhost:5000/health
You should see {"status": "ok", ...} — app is working. Deactivate:
deactivate
2.8 Final local directory structure
flaskapp/
├── app.py             ← main application
├── wsgi.py            ← Gunicorn entry point
├── requirements.txt   ← pip dependencies
├── .env               ← local secrets (NEVER upload)
├── .gitignore
└── venv/              ← virtual environment (NEVER upload)
3. Connect to VPS via SSH
# AWS EC2 (Free Tier)
ssh -i ~/.ssh/your-key.pem ubuntu@YOUR_EC2_PUBLIC_IP

# Paid VPS (Hostinger/ DigitalOcean / Hetzner)
ssh root@YOUR_SERVER_IP
Create a non-root deployment user
Running as root is a security risk. Create a dedicated user:
# Create user
adduser flaskuser

# Grant sudo access
usermod -aG sudo flaskuser

# Copy SSH keys so you can log in as this user
rsync --archive --chown=flaskuser:flaskuser ~/.ssh /home/flaskuser

# Switch to new user
su - flaskuser
AWS EC2 note: The default user is already ubuntu
(non-root with sudo). You can
skip user creation and use ubuntu directly, or create
flaskuser and use that.
Update server packages
sudo apt update && sudo apt upgrade -y

# Reboot if kernel was updated
sudo reboot
After reboot, SSH back in as flaskuser (or ubuntu on AWS).
4. Install Required Dependencies on VPS
# Python 3, pip, and build tools
sudo apt install python3 python3-pip python3-dev build-essential -y

# Verify versions
python3 --version
pip3 --version

# virtualenv
python3 -m venv myenv
source myenv/bin/activate
sudo pip3 install virtualenv

# Nginx web server
sudo apt install nginx -y

# Verify Nginx is running
sudo systemctl status nginx
# Expected: active (running)
Gunicorn will be installed inside the project virtual environment in Step 5.
Python 3, pip & Build Tools
sudo apt install python3 python3-pip python3-dev build-essential -y
This installs 4 packages in one shot:
| Package | What it does |
|---|---|
python3 |
Python 3 interpreter — runs .py files |
python3-pip |
Package manager for Python — installs libraries like Flask, requests |
python3-dev |
Header files needed to compile Python C extensions (e.g. psycopg2, Pillow) |
build-essential |
C/C++ compilers (gcc, make) — required to build packages from source |
The -y flag auto-confirms the installation without prompting.
python3 --version    # Prints: Python 3.x.x
pip3 --version       # Prints: pip 23.x.x
These verify the installation was successful and show which versions are active.
Virtual Environment
python3 -m venv myenv
Creates an isolated Python environment in a folder called myenv/. Think
of it as a separate box
where your project's
packages live — completely independent from system Python. This prevents version conflicts
between projects.
source myenv/bin/activate
Activates the virtual environment. After this:
pythonpoints tomyenv/bin/python(not system Python).pip installinstalls only insidemyenv/(not globally).- Your terminal prompt changes to
(myenv) user@host:~$.
sudo pip3 install virtualenv
Installs the virtualenv tool globally. Note: python3 -m venv (built-in) already does the job —
virtualenv is an older,
third-party alternative with extra features. You usually don't need both — python3 -m venv is
sufficient for most
projects.
⚠️ Best practice: Avoid sudo pip3 install — it
installs globally and can
break system packages. Use a venv instead.
Nginx Web Server
sudo apt install nginx -y
Installs Nginx — a high-performance web server used in production as a reverse proxy in front of Gunicorn. It handles:
- Incoming HTTP/HTTPS traffic from browsers.
- SSL/TLS termination.
- Static file serving (much faster than Python).
- Forwarding dynamic requests to Gunicorn on
127.0.0.1:5000.
sudo systemctl status nginx
Checks if Nginx is running. You expect to see:
Active: active (running)
This confirms Nginx started successfully after install. Ubuntu 22.04+ auto-starts and auto-enables Nginx on install.
How They All Work Together
Browser ⟶ Nginx (port 80/443) ⟶ Gunicorn (port 5000) ⟶ Flask App ⟶ Response
- Python 3 runs your Flask code.
- venv isolates your dependencies cleanly.
- Gunicorn serves Flask as a production WSGI server.
- Nginx sits in front, handles SSL + static files + load balancing.
5. Upload Flask Project to VPS
Method A: SCP (quick one-time upload)
# Run on your LOCAL machine

# AWS EC2
scp -i ~/.ssh/your-key.pem -r ~/flaskapp ubuntu@YOUR_EC2_IP:/home/ubuntu/

# Paid VPS
scp -r ~/flaskapp flaskuser@YOUR_SERVER_IP:/home/flaskuser/
Method B: Git (recommended for ongoing projects)
# On LOCAL machine — push to GitHub
cd ~/flaskapp
git init
git add .
git commit -m "Initial Flask app"
git remote add origin https://github.com/yourusername/flaskapp.git
git push -u origin main
Fix:
1. Create Token (if you haven't already)
Go to: https://github.com/settings/tokens.
Generate new token (classic) → repo permission → Generate token → copy it.
2. Push Using the Token
git push -u origin main
When prompted:
Username for 'https://github.com': yourusername
Password for 'https://yourusername@github.com': ghp_xxxxxxxxxxxxxxxxxxxxxxxxxxxxxxx
3. Verify It Worked
git log --oneline -3 # Should show your commits
# On SERVER — clone the repo
cd /home/flaskuser # or /home/ubuntu for AWS

git clone https://github.com/yourusername/flaskapp.git
cd flaskapp
Set up virtual environment and install dependencies on server
cd /home/flaskuser/flaskapp # or /home/ubuntu/flaskapp on AWS

python3 -m venv venv
source venv/bin/activate
pip install -r requirements.txt
deactivate
Create .env file on server (production secrets)
nano /home/flaskuser/flaskapp/.env
Add:
SECRET_KEY=generate-a-long-random-string-here
FLASK_DEBUG=false
FLASK_ENV=production
# DATABASE_URL=postgresql://user:pass@localhost/mydb
Generate a strong secret key:
openssl rand -hex 32
# Copy output as your SECRET_KEY value
Final VPS directory structure
/home/flaskuser/flaskapp/       ← /home/ubuntu/flaskapp on AWS
├── app.py
├── wsgi.py
├── requirements.txt
├── .env                        ← created directly on server
└── venv/                       ← created on server
6. Configure Gunicorn
6.1 Test Gunicorn manually
cd /home/flaskuser/flaskapp
source venv/bin/activate

gunicorn --bind 0.0.0.0:5000 wsgi:app
# Expected: [INFO] Listening at: http://0.0.0.0:5000

# Test from another terminal or browser
curl http://YOUR_SERVER_IP:5000/

deactivate
6.2 Create the systemd service file
sudo nano /etc/systemd/system/flaskapp.service
[Unit]
Description=Gunicorn instance to serve Flask application
After=network.target

[Service]
# --- CHANGE THIS based on your setup ---
# AWS EC2:   User=ubuntu  and paths use /home/ubuntu/flaskapp
# Paid VPS:  User=flaskuser and paths use /home/flaskuser/flaskapp
User=flaskuser
Group=www-data

WorkingDirectory=/home/flaskuser/flaskapp
EnvironmentFile=/home/flaskuser/flaskapp/.env
Environment="PATH=/home/flaskuser/flaskapp/venv/bin"

# Workers formula: (2 × CPU cores) + 1
# t2.micro (1 CPU) → 3 workers
# Paid VPS 2 CPU   → 5 workers
ExecStart=/home/flaskuser/flaskapp/venv/bin/gunicorn \
    --workers 3 \
    --bind unix:/home/flaskuser/flaskapp/flaskapp.sock \
    -m 007 \
    --access-logfile /var/log/flaskapp/access.log \
    --error-logfile  /var/log/flaskapp/error.log \
    wsgi:app

Restart=always
RestartSec=3

[Install]
WantedBy=multi-user.target
AWS EC2 users: Replace all flaskuser with ubuntu
and /home/flaskuser with
/home/ubuntu in the service file.
6.3 Create log directory and enable service
# Create log directory
sudo mkdir -p /var/log/flaskapp
sudo chown flaskuser:flaskuser /var/log/flaskapp
# AWS: sudo chown ubuntu:ubuntu /var/log/flaskapp

# Reload systemd, enable, and start
sudo systemctl daemon-reload
sudo systemctl enable flaskapp
sudo systemctl start flaskapp

# Verify
sudo systemctl status flaskapp
# Expected: Active: active (running)
A flaskapp.sock Unix socket file will appear in your project directory
— Nginx will proxy through
this.
7. Configure Nginx as Reverse Proxy
7.1 Create the Nginx server block
sudo nano /etc/nginx/sites-available/flaskapp
server {
    listen 80;

    # --- CHOOSE BASED ON YOUR SETUP ---
    # Free (no domain): use server IP
    # server_name YOUR_SERVER_IP;
    #
    # Free (AWS + no domain): use EC2 public DNS
    # server_name ec2-xx-xx-xx-xx.compute.amazonaws.com;
    #
    # Paid domain: use your domain
    # server_name yourdomain.com www.yourdomain.com;
    server_name YOUR_SERVER_IP_OR_DOMAIN;

    access_log /var/log/nginx/flaskapp_access.log;
    error_log  /var/log/nginx/flaskapp_error.log;

    client_max_body_size 16M;

    # Static files served by Nginx directly (faster)
    location /static {
        alias /home/flaskuser/flaskapp/static;
        # AWS: alias /home/ubuntu/flaskapp/static;
        expires 30d;
        add_header Cache-Control "public, immutable";
    }

    # All other requests → Gunicorn via Unix socket
    location / {
        include proxy_params;
        proxy_pass http://unix:/home/flaskuser/flaskapp/flaskapp.sock;
        # AWS: proxy_pass http://unix:/home/ubuntu/flaskapp/flaskapp.sock;

        proxy_set_header X-Real-IP         $remote_addr;
        proxy_set_header X-Forwarded-For   $proxy_add_x_forwarded_for;
        proxy_set_header X-Forwarded-Proto $scheme;

        proxy_connect_timeout 60s;
        proxy_read_timeout    60s;
        proxy_send_timeout    60s;
    }
}
7.2 Enable site and restart Nginx
# Enable site
sudo ln -s /etc/nginx/sites-available/flaskapp \
/etc/nginx/sites-enabled/

# Remove default site
sudo rm -f /etc/nginx/sites-enabled/default

# Test config — always do this before restarting
sudo nginx -t
# Expected: syntax is ok / test is successful

# Reload Nginx
sudo systemctl reload nginx
Visit http://YOUR_SERVER_IP — you should see your Flask JSON response.
8. Configure Firewall (UFW)
# Allow SSH first — do this BEFORE enabling UFW
sudo ufw allow ssh
sudo ufw allow 22/tcp

# Allow HTTP and HTTPS
sudo ufw allow 'Nginx Full'

# Enable firewall
sudo ufw enable

# Verify active rules
sudo ufw status verbose
AWS EC2 users: AWS has its own Security Groups firewall that you configured during instance creation. UFW is optional on EC2 but adds a second layer of defence — still recommended.
9. Domain & SSL with Certbot
Domain Options — Free vs Paid
Option A: Free — Use Server IP (no domain, no SSL)
No additional setup needed. Your app is accessible at:
http://YOUR_SERVER_IP
This is fine for learning and internal tools. You cannot get SSL without a domain name — Certbot requires DNS. Skip the rest of Step 8 if using IP only.
Option B: Free Domain Options
Several registrars offer free domains:
| Provider | Free Domain | Notes |
|---|---|---|
| Freenom | .tk, .ml, .ga | Unreliable, not recommended for production |
| GitHub Student Pack | .me (1 year free) | Requires GitHub Student account |
| AWS Route 53 | — | No free domains, ~$12/year for .com |
💡 Free domains from Freenom are often unreliable and get revoked. For any real project, a paid domain is strongly recommended.
Option C: Paid Domain (Recommended for Production)
| Provider | Type | Price / Note | India-friendly |
|---|---|---|---|
| HostingRaja | Paid | ~₹800/year | ✅ (local support) |
| Namecheap | Paid | ~₹900/year | ✅ |
| GoDaddy | Paid | ~₹999/year | ✅ |
| Google Domains | Paid | ~₹1,000/year | ✅ |
| GitHub Student | Free | .me (1 year) | Requires Student ID |
| Freenom | Free | .tk, .ml, .ga | ❌ Unreliable |
9.1 Point your domain to the server (if using a domain)
Type: A Name: @ Value: YOUR_SERVER_IP TTL: 300
Type: A Name: www Value: YOUR_SERVER_IP TTL: 300
Wait 5–15 minutes, then verify:
ping yourdomain.com
# Should resolve to YOUR_SERVER_IP
Update your Nginx config to use the domain:
sudo nano /etc/nginx/sites-available/flaskapp
# Change: server_name yourdomain.com www.yourdomain.com;
sudo nginx -t && sudo systemctl reload nginx
9.2 Install Certbot and generate SSL (Free — Let's Encrypt)
SSL via Certbot is always free regardless of whether you use a free or paid VPS:
# Install Certbot + Nginx plugin
sudo apt install certbot python3-certbot-nginx -y

# Generate SSL certificate (replace with your domain)
sudo certbot --nginx -d yourdomain.com -d www.yourdomain.com

# Certbot prompts:
# 1. Enter email address
# 2. Agree to terms (A)
# 3. Choose redirect: select 2 (HTTP → HTTPS auto-redirect)
Certbot automatically updates your Nginx config to add listen 443 ssl and certificate paths.
9.3 Verify auto-renewa
# Dry-run to confirm renewal works
sudo certbot renew --dry-run

# Check renewal timer
sudo systemctl status certbot.timer
Let's Encrypt certificates expire every 90 days — the timer renews them automatically.
Visit https://yourdomain.com — padlock in browser confirms SSL is
working.
10. Testing & Debugging
Check service logs
# Gunicorn service status
sudo systemctl status flaskapp

# Live log stream
sudo journalctl -u flaskapp -f

# Application logs
tail -f /var/log/flaskapp/access.log
tail -f /var/log/flaskapp/error.log

# Nginx logs
tail -f /var/log/nginx/flaskapp_access.log
tail -f /var/log/nginx/flaskapp_error.log
Common errors and fixes
| Error | Cause | Fix |
|---|---|---|
| 502 Bad Gateway | Nginx can't reach Gunicorn socket | Verify socket path matches in Nginx and service file; sudo systemctl status flaskapp |
| Permission denied on .sock | Nginx user can't read socket | sudo usermod -aG flaskuser www-data && sudo systemctl restart nginx |
| ModuleNotFoundError | Missing Python package | source venv/bin/activate && pip install -r requirements.txt |
| App not updating | Old Gunicorn workers running | sudo systemctl restart flaskapp |
| Certbot fails | Domain not resolving to server | Wait for DNS propagation; verify with dig yourdomain.com |
| AWS port 80 not responding | Security Group not open | EC2 Console → Security Groups → add HTTP inbound rule |
| nginx -t syntax error | Config typo | Read error line and fix; check semicolons and braces |
Fix socket permission issues
sudo usermod -aG flaskuser www-data
# AWS: sudo usermod -aG ubuntu www-data

sudo systemctl restart nginx
sudo systemctl restart flaskapp
End-to-end test
# No domain (IP only)
curl http://YOUR_SERVER_IP/
curl http://YOUR_SERVER_IP/health

# With domain + SSL
curl https://yourdomain.com/
curl https://yourdomain.com/health

curl -X POST https://yourdomain.com/api/greet \
-H "Content-Type: application/json" \
-d '{"name": "Wave Function"}'
Production Best Practices
Never hardcode secrets
# app.py — always read from environment
import os

app.config['SECRET_KEY'] = os.environ.get('SECRET_KEY')
app.config['DATABASE_URL'] = os.environ.get('DATABASE_URL')

if not app.config['SECRET_KEY']:
raise RuntimeError("SECRET_KEY is not set!")
Always disable debug mode in production
# /home/flaskuser/flaskapp/.env
FLASK_DEBUG=false
FLASK_ENV=production
Debug mode exposes an interactive Python debugger over HTTP — a critical security hole in production.
File permissions
# App files
sudo chown -R flaskuser:www-data /home/flaskuser/flaskapp
# AWS: sudo chown -R ubuntu:www-data /home/ubuntu/flaskapp

sudo chmod -R 750 /home/flaskuser/flaskapp

# .env — owner-read only
chmod 600 /home/flaskuser/flaskapp/.env

# Log directory
sudo chmod 755 /var/log/flaskapp
Basic server hardening
# 1. Disable root SSH login
sudo nano /etc/ssh/sshd_config
# Set: PermitRootLogin no
# Set: PasswordAuthentication no
sudo systemctl restart sshd

# 2. Install fail2ban (blocks SSH brute force)
sudo apt install fail2ban -y
sudo systemctl enable --now fail2ban

# 3. Automatic security updates
sudo apt install unattended-upgrades -y
sudo dpkg-reconfigure unattended-upgrades

# 4. Check listening ports (should only see 22, 80, 443)
sudo ss -tlnp
Update app without downtime
cd /home/flaskuser/flaskapp
git pull origin main

source venv/bin/activate
pip install -r requirements.txt
deactivate

# Graceful reload — zero downtime
sudo systemctl reload flaskapp
Full Cost Summary
| Setup | Server | Domain | SSL | Total/month |
|---|---|---|---|---|
| Full free (learning) | AWS Free Tier ₹0 | Use server IP | N/A | ₹0 |
| Free server + paid domain | AWS Free Tier ₹0 | ₹75/month (₹900/yr) | ₹0 Certbot | ~₹75 |
| Paid VPS + no domain | Hostinger₹450 | Use server IP | N/A | ₹450 |
| Full production | Hostinger₹450 | ₹75/month | ₹0 Certbot | ~₹525 |
Conclusion
You now have a fully production-ready Flask deployment with both free and paid paths clearly mapped out:
Internet → Nginx (80/443) → Unix Socket → Gunicorn → Flask App
                                  ↑
                           systemd manages
                           (auto-start / auto-restart)
Recommended path based on your situation:
- Start now for free → AWS EC2 Free Tier + server IP, no domain needed.
- Add a domain → point your existing devspirehub.com subdomain (e.g., app.devspirehub.com) — no extra cost since you already own it.
- Go fully production → upgrade to a paid VPS (HostingerKVM1 ~₹450/month) when your app has real traffic.
What You Can Add Next?
- Add PostgreSQL database —
sudo apt install postgresql -y+ SQLAlchemy in Flask. - CI/CD with GitHub Actions — auto-deploy on every
git pushtomain. - Monitoring — UptimeRobot (free) for uptime alerts.
- Containerise with Docker — wrap Flask + Gunicorn into a portable Docker image.
- Scale horizontally — add a second VPS + Nginx load balancer when traffic grows.
Other Projects

Shooter Game
This is a beginner-friendly guide for building a Space Shooter game with Python and Pygame, covering coding concepts and project structure.
View Project →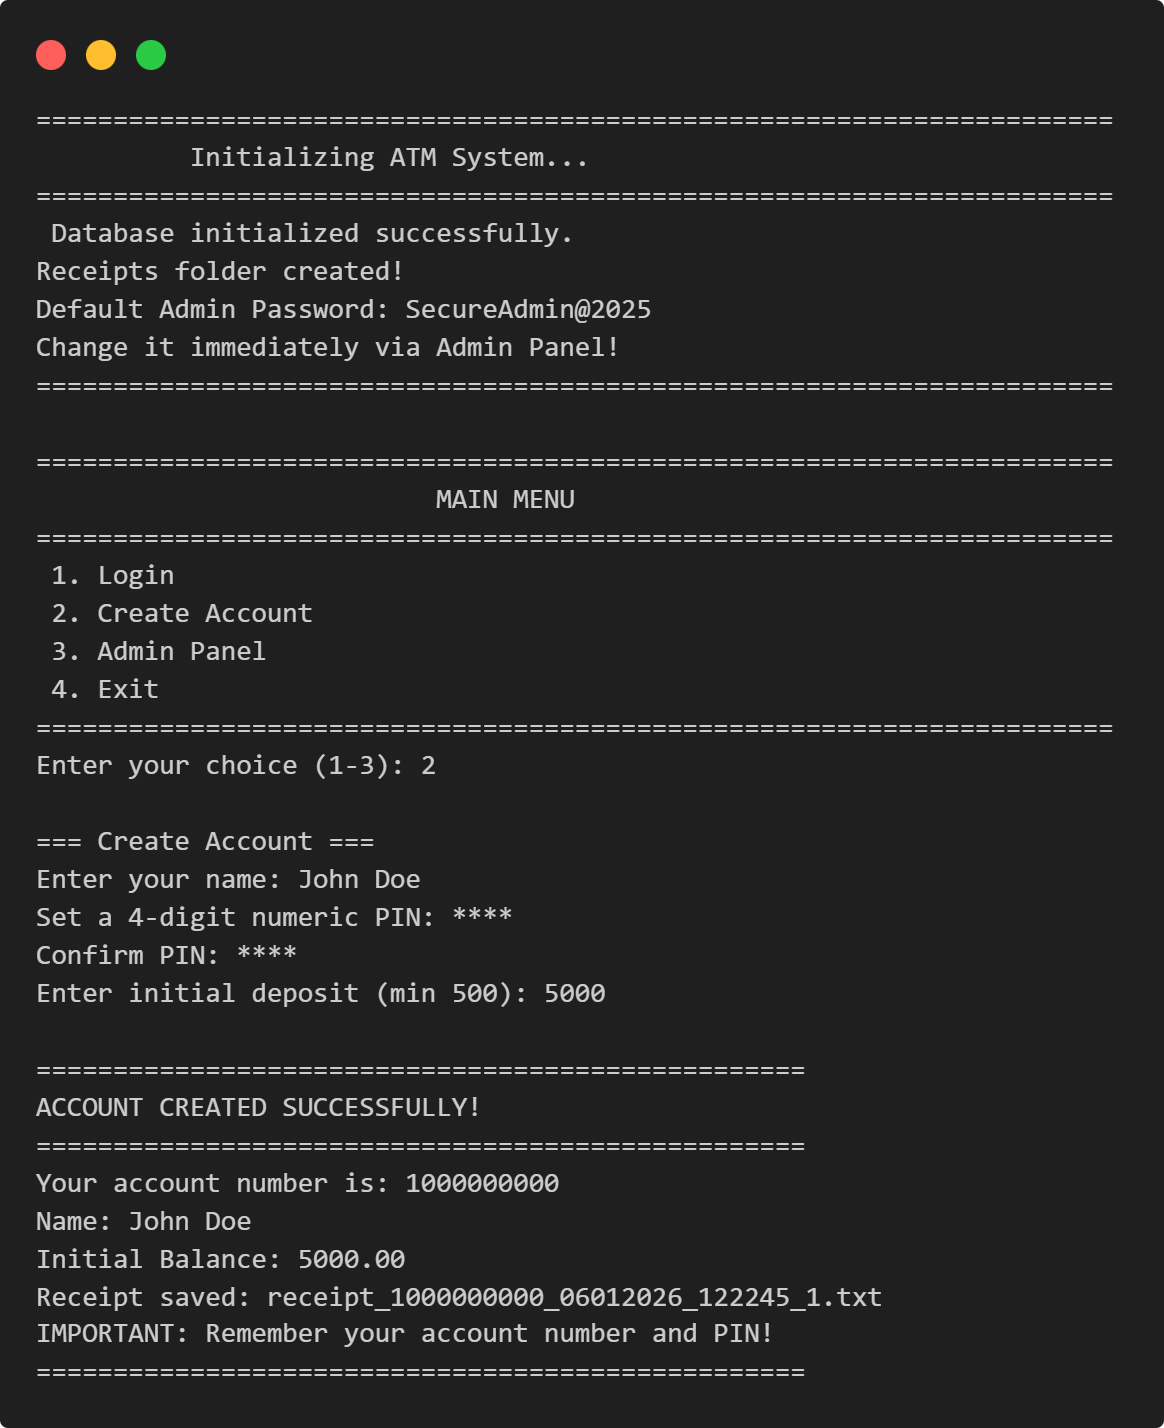
ATM Management System
This Python application implements a multi-user ATM system with SQLite-backed persistence, featuring account management, financial transactions, and administrative controls.
View Project →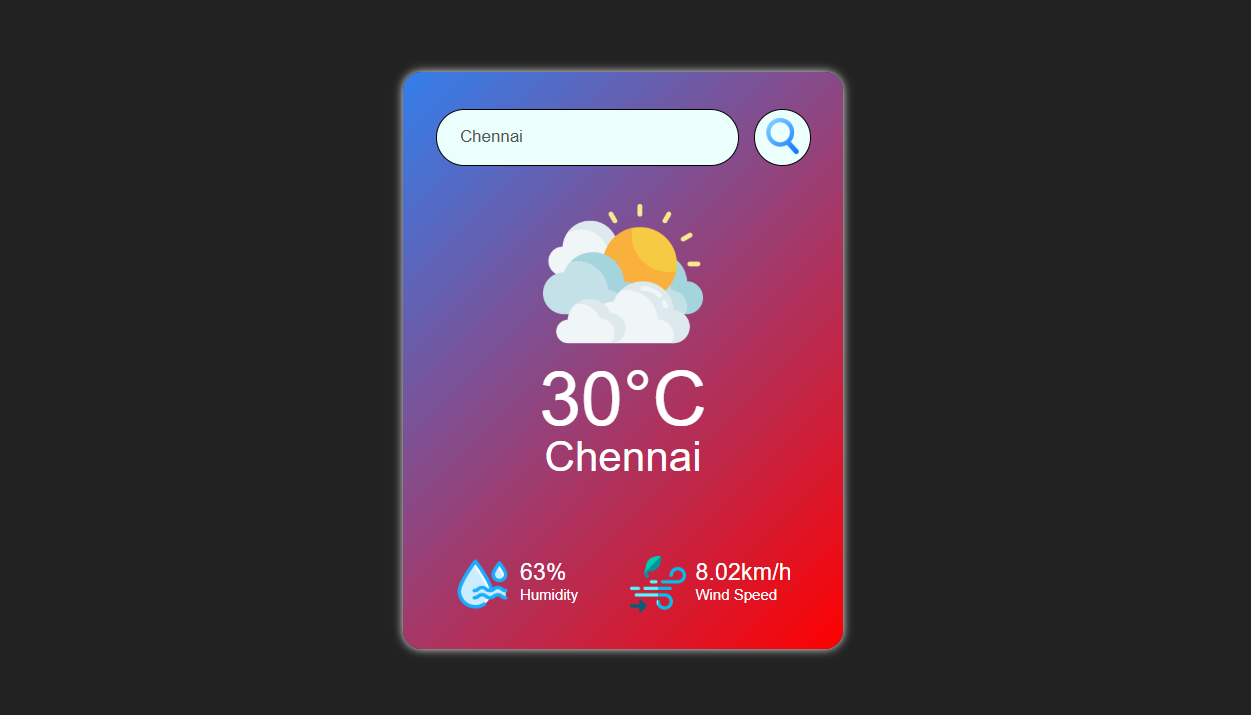
Weather App
Responsive weather app with real-time API data, feature comparison, and intuitive design for global city forecasts.
View Project →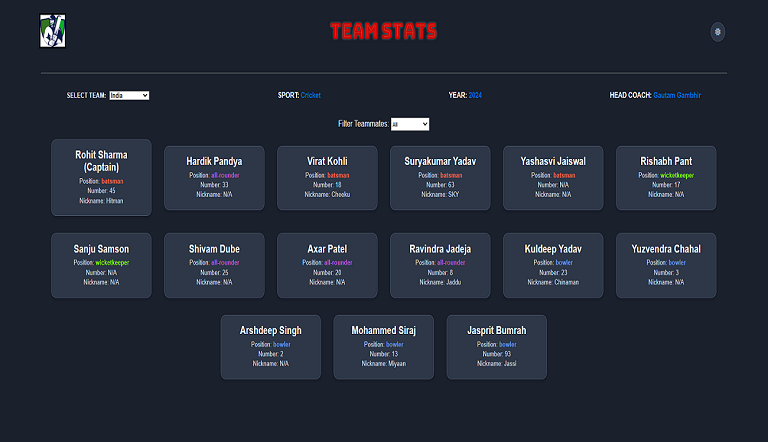
Team Card App
Interactive team card application for cricket, featuring dynamic team selection, player filters, and customizable light/dark themes.
View Project →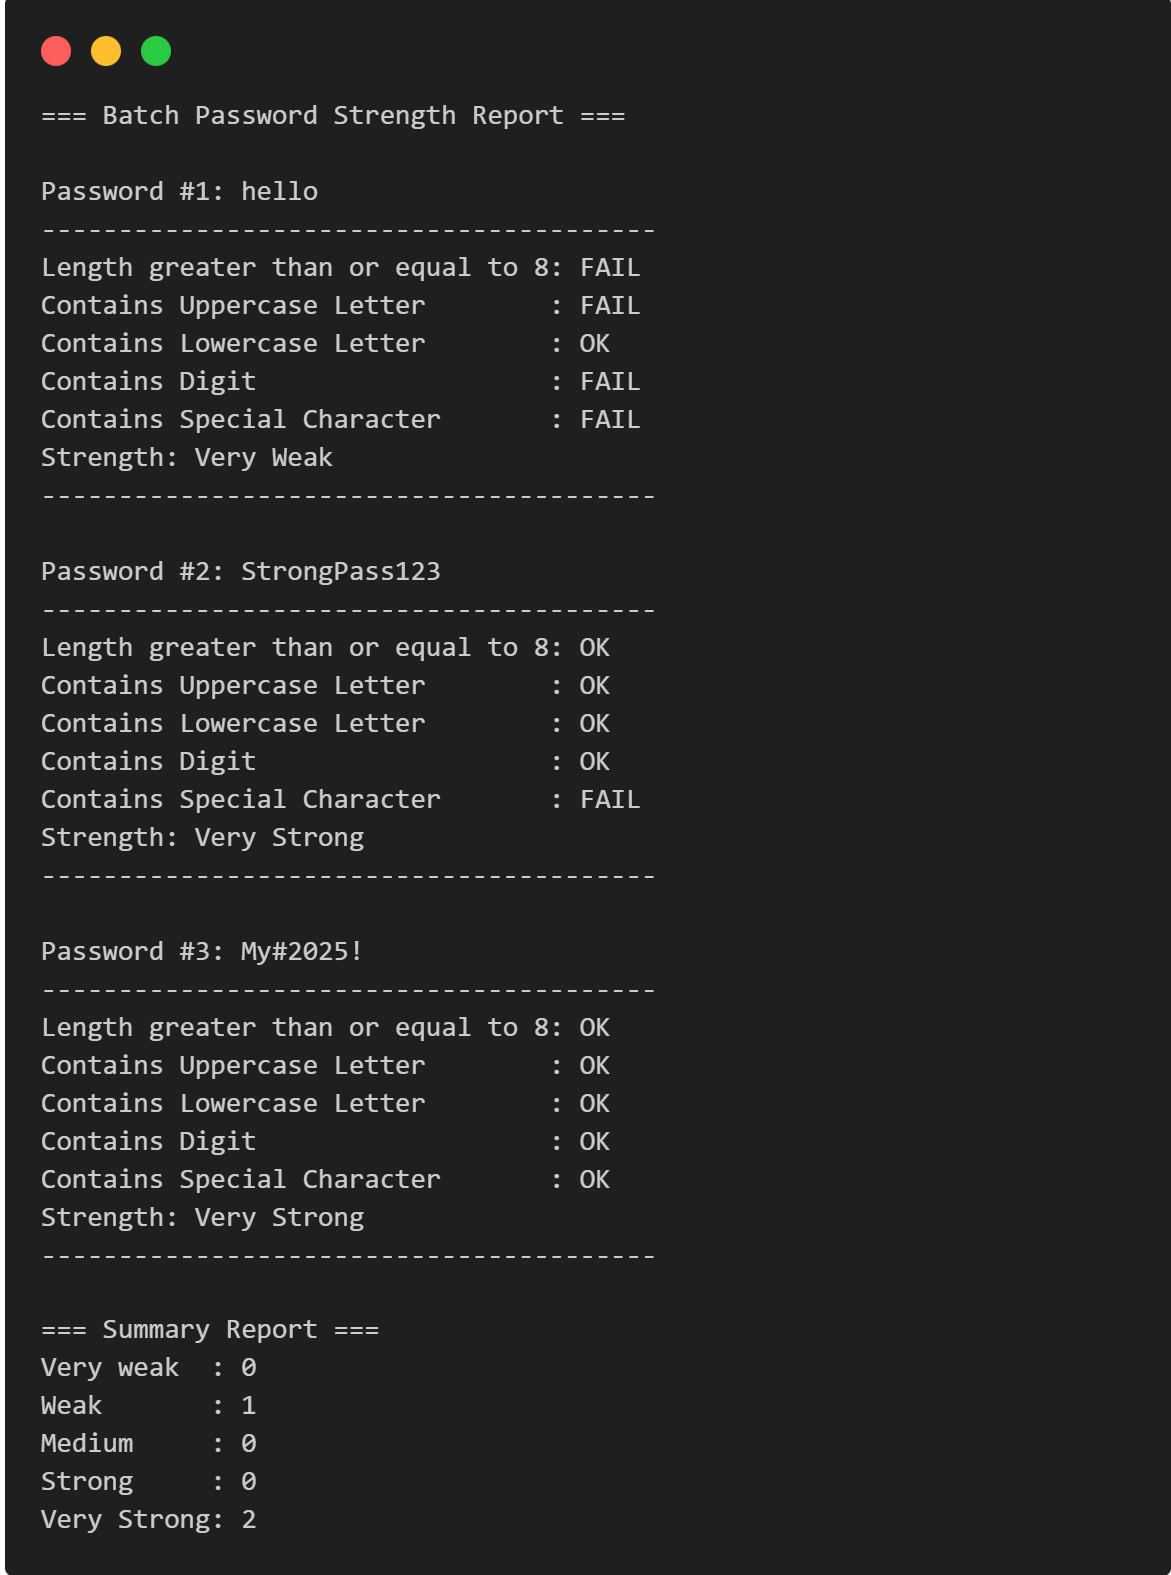
Password Strength Checker
Multi-Password Batch Strength Checker (C++), designed to check multiple passwords at once, show individual strength, and provide a summary report.
View Project →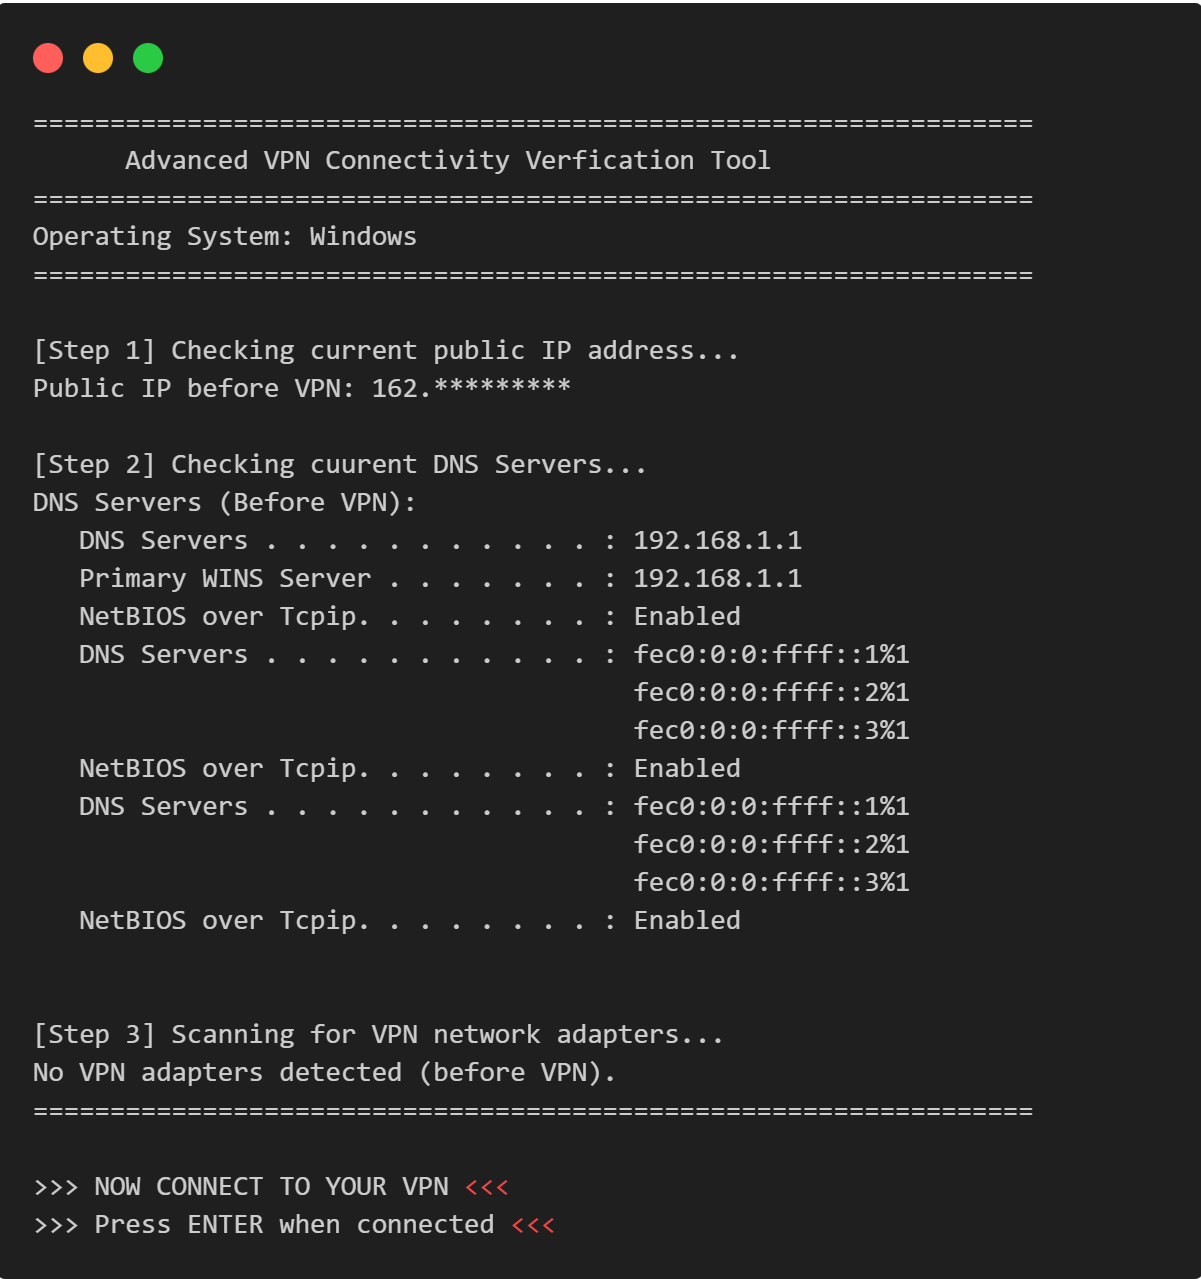
VPN Connectivity verification in C
Efficient C program to verify VPN status, routing, and DNS configurations through comprehensive public IP and network adapter analysis.
View Project →